I made a hologram!
Recently my family gave me a hologram-making kit that they found at an antique mall in Indiana. I was with them when they first spotted it among the alien masks and vintage comics, and when they pointed it out, my first thought was "yeah right there's no way that's real holograms" followed by "oh wow it looks like actual real holograms".
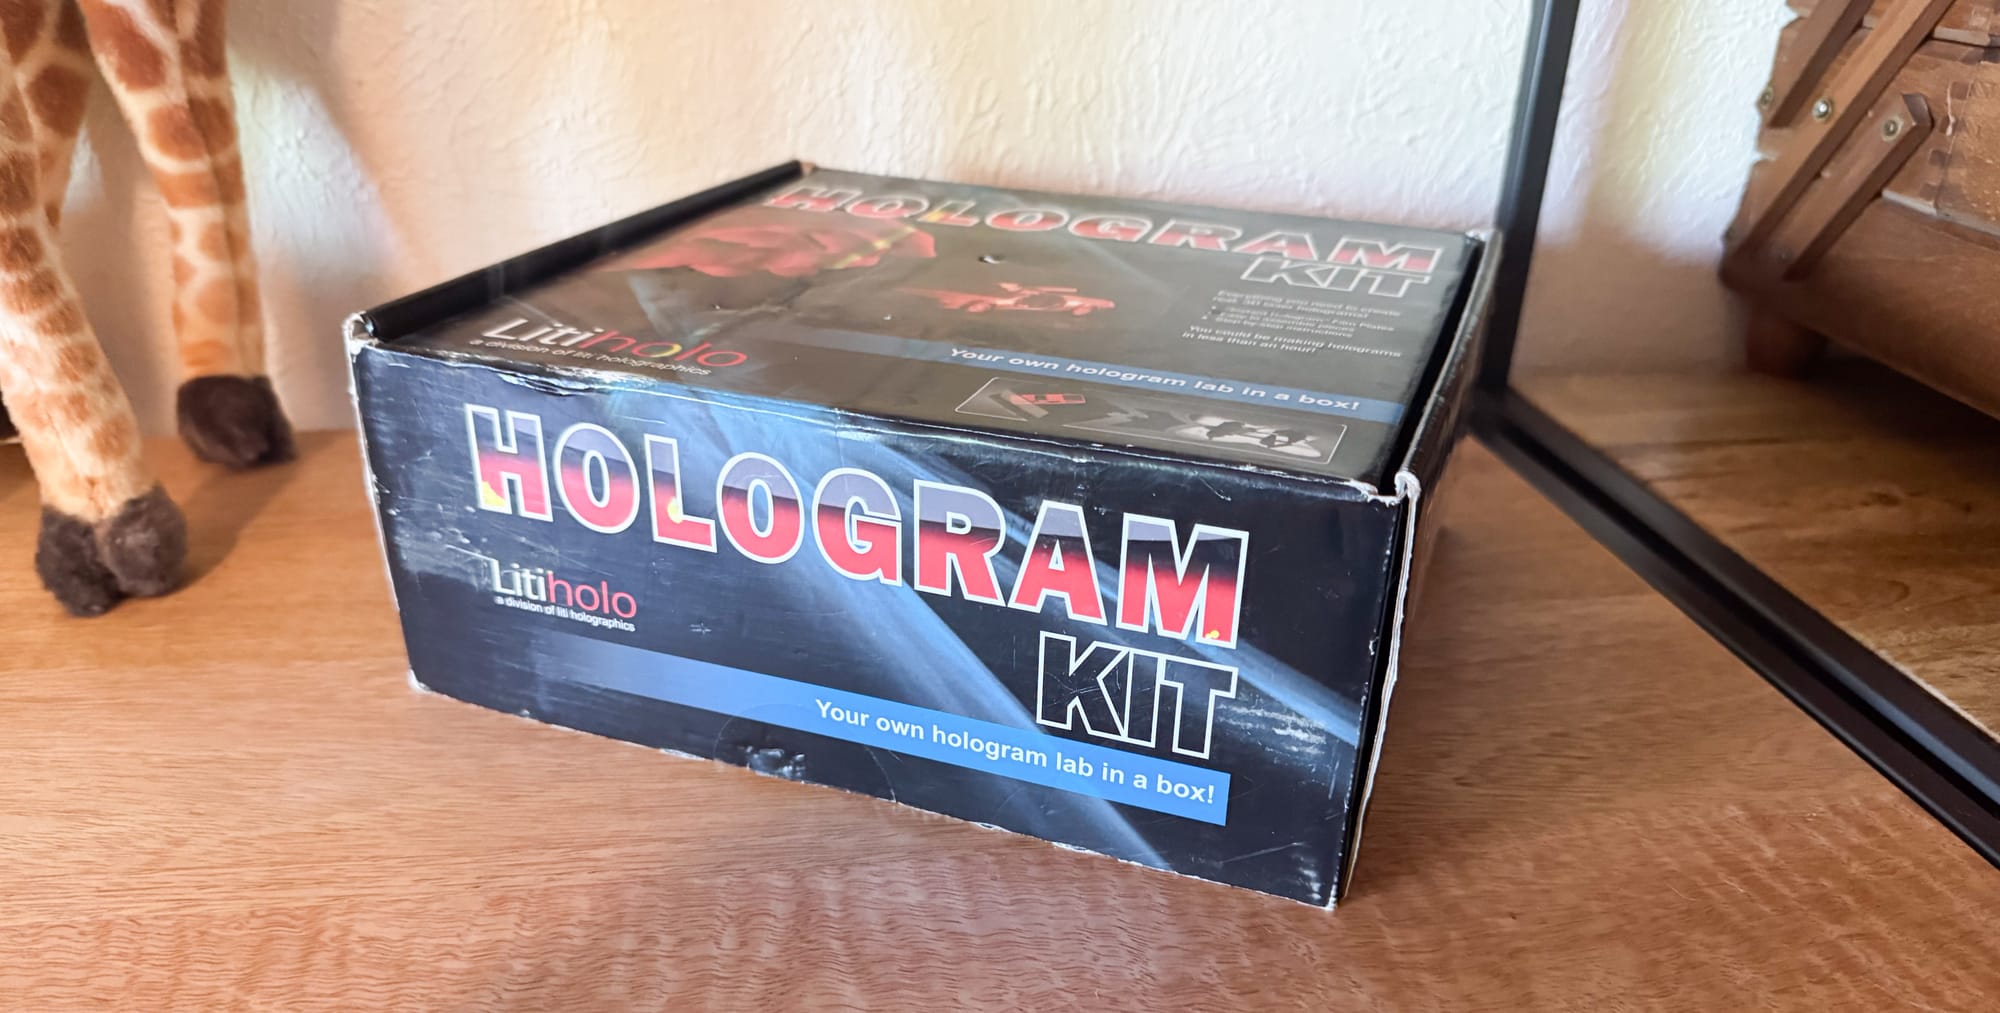
As a laser scientist this was basically the perfect gift for me, and they sneaked back to the antique mall to pick it up. Fortunately for me, the antique mall hologram kit was not all that antique, just a few years old, and the film was still good. The company Litiholo in fact still makes these kits.
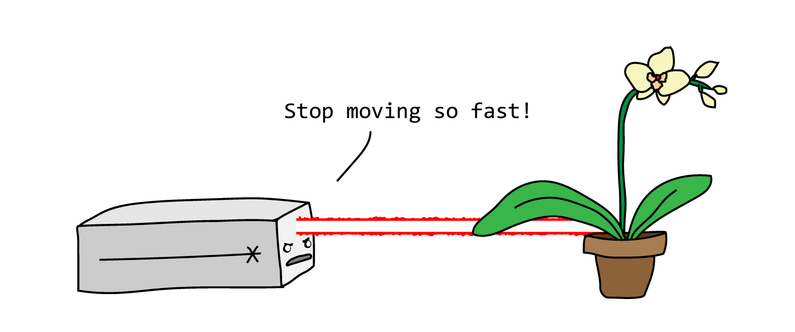
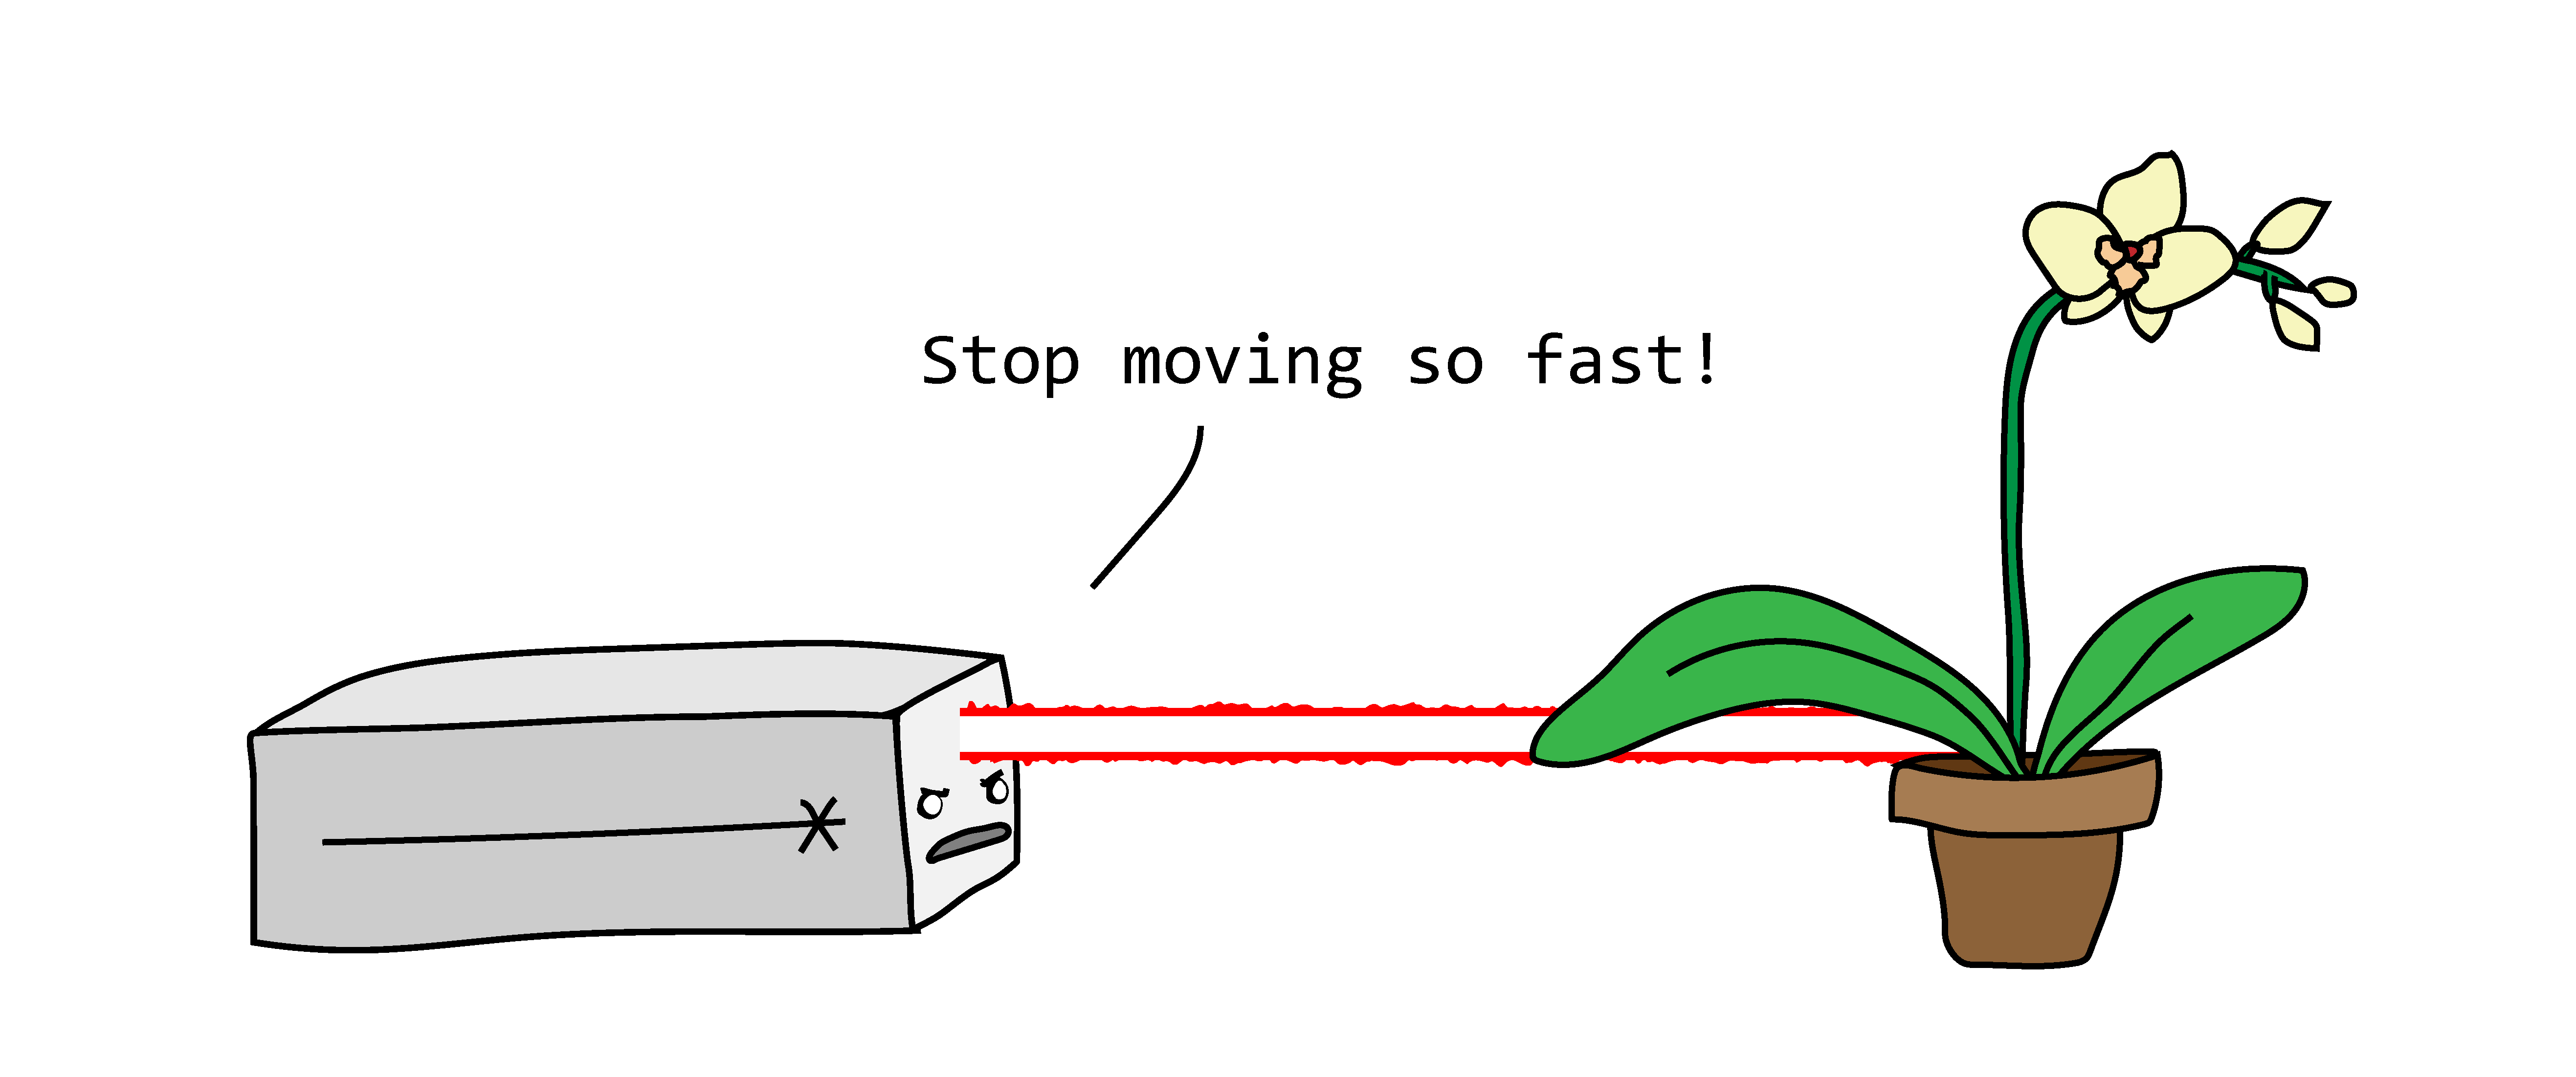
The kit included a red laser, and a bunch of plastic holders that pieced together to hold the film and the laser in the right positions. A little rectangle the size of a deck of cards indicated where I could put the 3D object that I wanted to turn into a hologram - they supplied some dice so my first hologram would be of something that would probably work. For example, they recommend not trying to make a hologram of plants because they move too much (!) during the five-minute exposures.
I've made holograms in the lab with fancy lasers and floating tables and climate-controlled rooms, so I took their instructions seriously when they told me to sit absolutely still and silent during the hologram exposures. The cats were not allowed in the room.
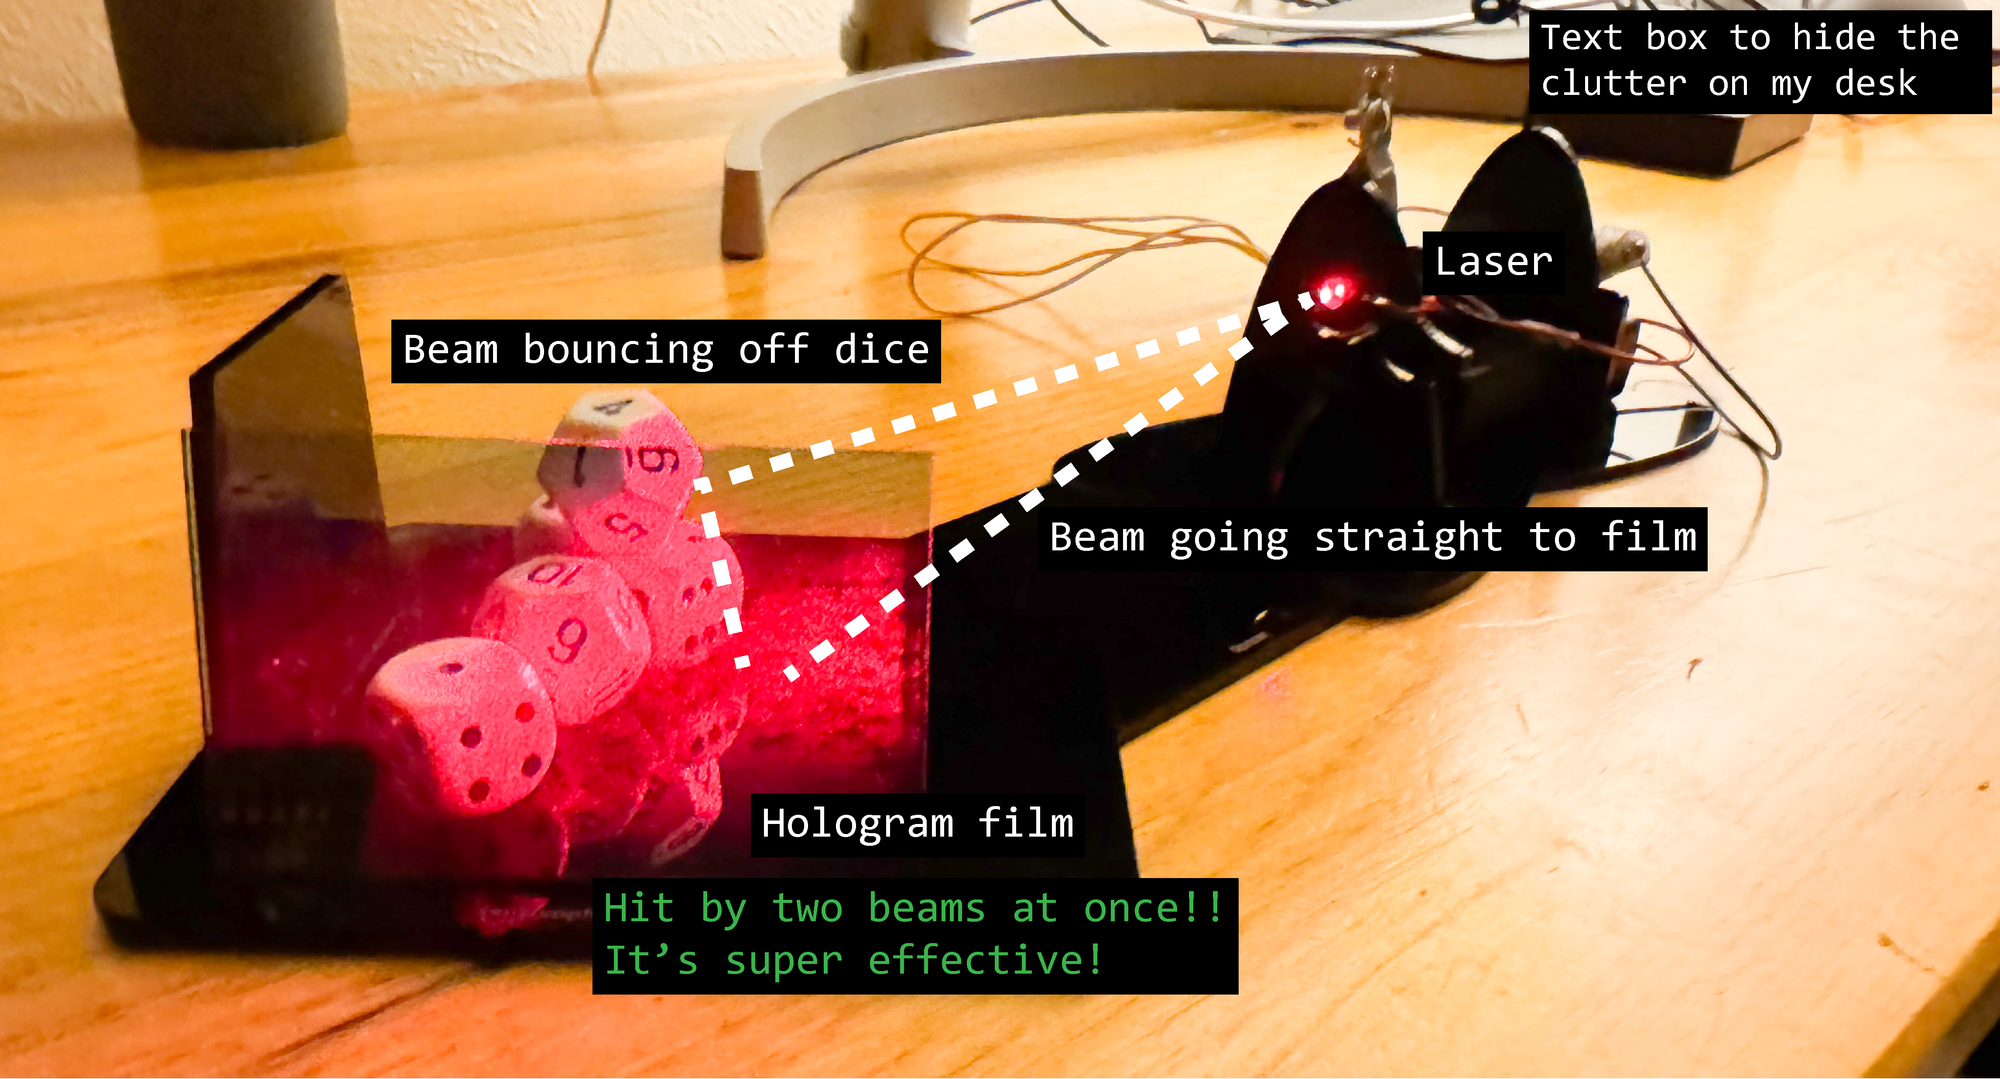
The key to the hologram setup is that half of the laser beam hits the film directly, while the other half bounces off the dice and then hits the film. When the two halves interfere with each other at the film, they embed the film with information about the shape of the light bouncing off the dice. Then, when I remove the dice, the film recreates what the dice was doing to its half of the laser beam, as if the dice were still there.
The result is a hologram that changes depending on what angle you look at it, just like you were looking around the edges and over the tops of the original dice. For this video I scooted the dice out from behind the film so now there's nothing back there at all.
You can really see that in this video of some cool calcite crystals; the camera swings up behind the film to show that the calcite isn't there anymore.
Obviously I haven't perfected the technique yet (maybe the film is a little old after all), but I'm having fun experimenting with making holograms. What thing (that's about the size of a deck of cards or smaller) would you want to see a hologram made out of?
